Faucet Removal and Replacement
Faucet Removal/Replacement
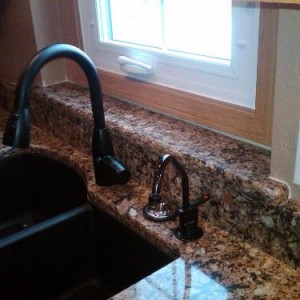 If you have decided to replace your kitchen faucet, see the section for disconnecting the water supply lines. You only need to disconnect the lower portion of the supply lines at the shutoffs. Once those are loose, you need to disconnect the attachment(s) nuts. Depending on the brand of faucet, you may have one or two threaded nuts that hold it to the countertop. You will need to look up behind the sink to see what you have. (bath faucet replacement will be similar)
- Tip…use a digital camera to take a photo of the attachments to see what type of attachments you have.
You should be able to use the faucet wrench described in the previous section to remove the nuts on the faucet. Once the nuts are off, remove the faucet from above. The faucet and the supply lines will come out as a unit, provided the holes in the counter top are large enough to allow the supply lines to come out.
Once the faucet is out, clean the area where it was attached. Be careful not to scratch the sink surface or countertop. See how many faucet holes you have…one, two or three holes? This will determine what type of replacement faucet you purchase. If you only have two holes and you purchase a faucet that requires three, you have a problem! Additional holes can be cut but that requires special tools and depends on the type of sink or countertop you have.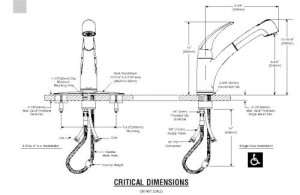
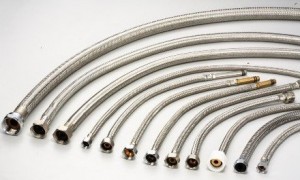
Now you are ready to install your new faucet. Be sure to read and follow the manufacture’s installation instructions. As before, I recommend you replace the supply lines. Review the installation instructions throughly. The basic procedure is as follows.
- Wrap the faucet water supply connection threads with Teflon® tape.
- Secure the new supply lines to the faucet.
- If the faucet has a base plate, install it now.
- If sealant is required on your faucet, install it per the faucet installation instructions.
- Install the faucet and supply lines in the respective holes.
- From below, attach the new faucet with the supplied attachments.
- Attach the supply lines to the shutoffs (see supply lines in the previous section).

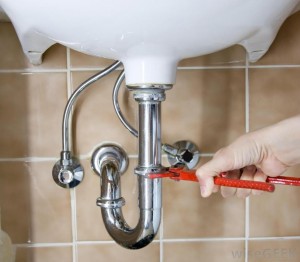
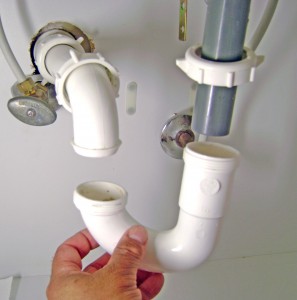
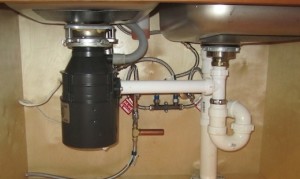 r disposal stop working or get plugged or jammed.
Converting a Tub Drain to a Shower Drain
December 12, 2015 by Rex Splitt • Drains, Plumbing • 0 Comments
We removed our bath tub in the main bath to replace it with a shower. The tub had a 1 1/2″ drain line. The code requires a 2″ drain for most shower drains, based on the gallons per minute of your shower head. Not wanting to go through that issue, I decided to put in a 2″ drain. The difficult part was determining where to find and tap in to a 2″ line. Long story short I cut a hole in the basement bath ceiling directly below where the tub drain was and removed some subfloor in the main bath above to expose the area where I needed to install the drain.
First step was to cut off and seal the old 1 1/2″ drain. I used a RotoZip with a metal cutting wheel. I finished the cut with a hack saw as I could not get through the pipe with the size of the cutting wheel and position I had to cut. After smoothing up the edges, I soldered on a copper cap.
There was a 2″ drain from the master shower that connected to the vent stack that angled across where I could connect to. Since I would be using Schedule 40 PVC, I had to find flexible shielded connectors to go from 2″ copper to 2″ PVC. A 2 inch EPDM rubber shielded coupling P3001-22 is what I used from the local home improvement store.
A lot of measuring and preparation was needed to get this correct. Between the two couplings I installed a 2″ PVC wye. Short stubs of PVC in the wye were calculated and glued in. I slid the couplings on the copper first, inserted the PVC assembly in place and slid the couplers on to the PVC. When putting together the pipes, I laid in a small bead of 100% silicon on the EPDM coupling (just for extra insurance it was sealed).
PVC to Copper Tap for drain line
A vent had to be installed in the new line, per code. A sanitary tee was installed in the 2″ line with a 1 1/2″ line out the top to connect to the vent line in the bathroom wall.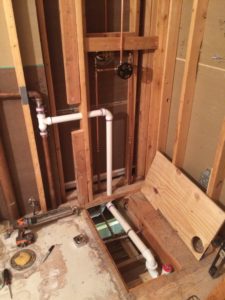
After installation, I ran water through the lines to check for leaks.
Note: The building code requires the lines to be tested and inspected under test. The Building Inspector said to plug as much as possible and flood the lines with water to check as much of the new piping as possible. He could have made me flood all the new line including the vent line. This would have meant pulling the other sink and toilet in the Master Bath to plug those lines and filling the vent stack. The inspector passed the installations and was impressed in how was able to make it all work.
PVC to Copper Vent Stack