Garage Door Maintenance
Most of our homes have an overhead garage door. Yours may be one large door or one or two smaller doors. Regardless of size, the maintenance is the same. Attached to most of the doors is an electric opener to open and close the doors with a press of a button. The maintenance for the opener will be discussed in the last section of this article.
Lubricate the track and rollers and tighten all bolts and nuts.
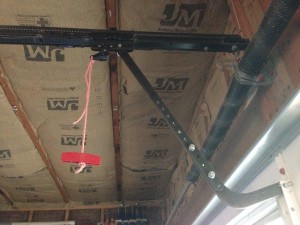
The door(s) may be wood, metal, or composite. Most overhead doors are in several horizontal panels, connected by brackets with hinges. The door is usually opened by assistance from from two high tension springs mounted above the door. Due to the tension in these springs, only experienced technicians should adjust or replace them. The springs can break with age. If one does break, replace both so you have equal tension. Have the springs replaced by an experienced door technician.
Other than the springs, there are several maintenance procedures you can do. You should perform monthly safety checks of the door and opener. Annually, check and perform the following.
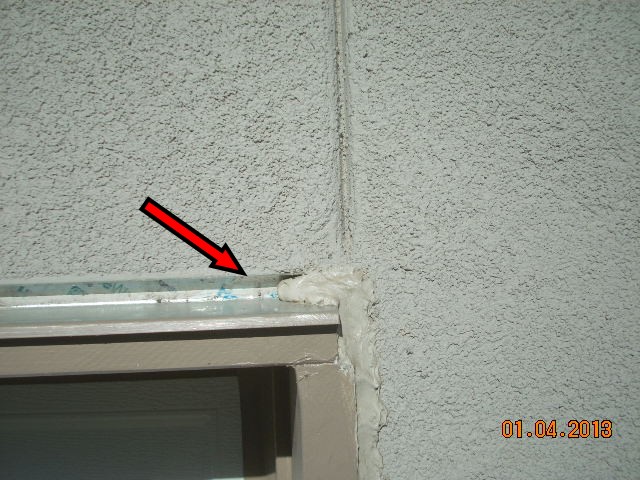
- Lubricate the tracks and rollers on the sides of the door with a spray silicone or teflon. Do not use an oil based product as it will collect dust. Do not lubricate nylon rollers.
- Tighten all the nuts and bolts. This includes those on the door and those that secure the door roller tracks to the wall.
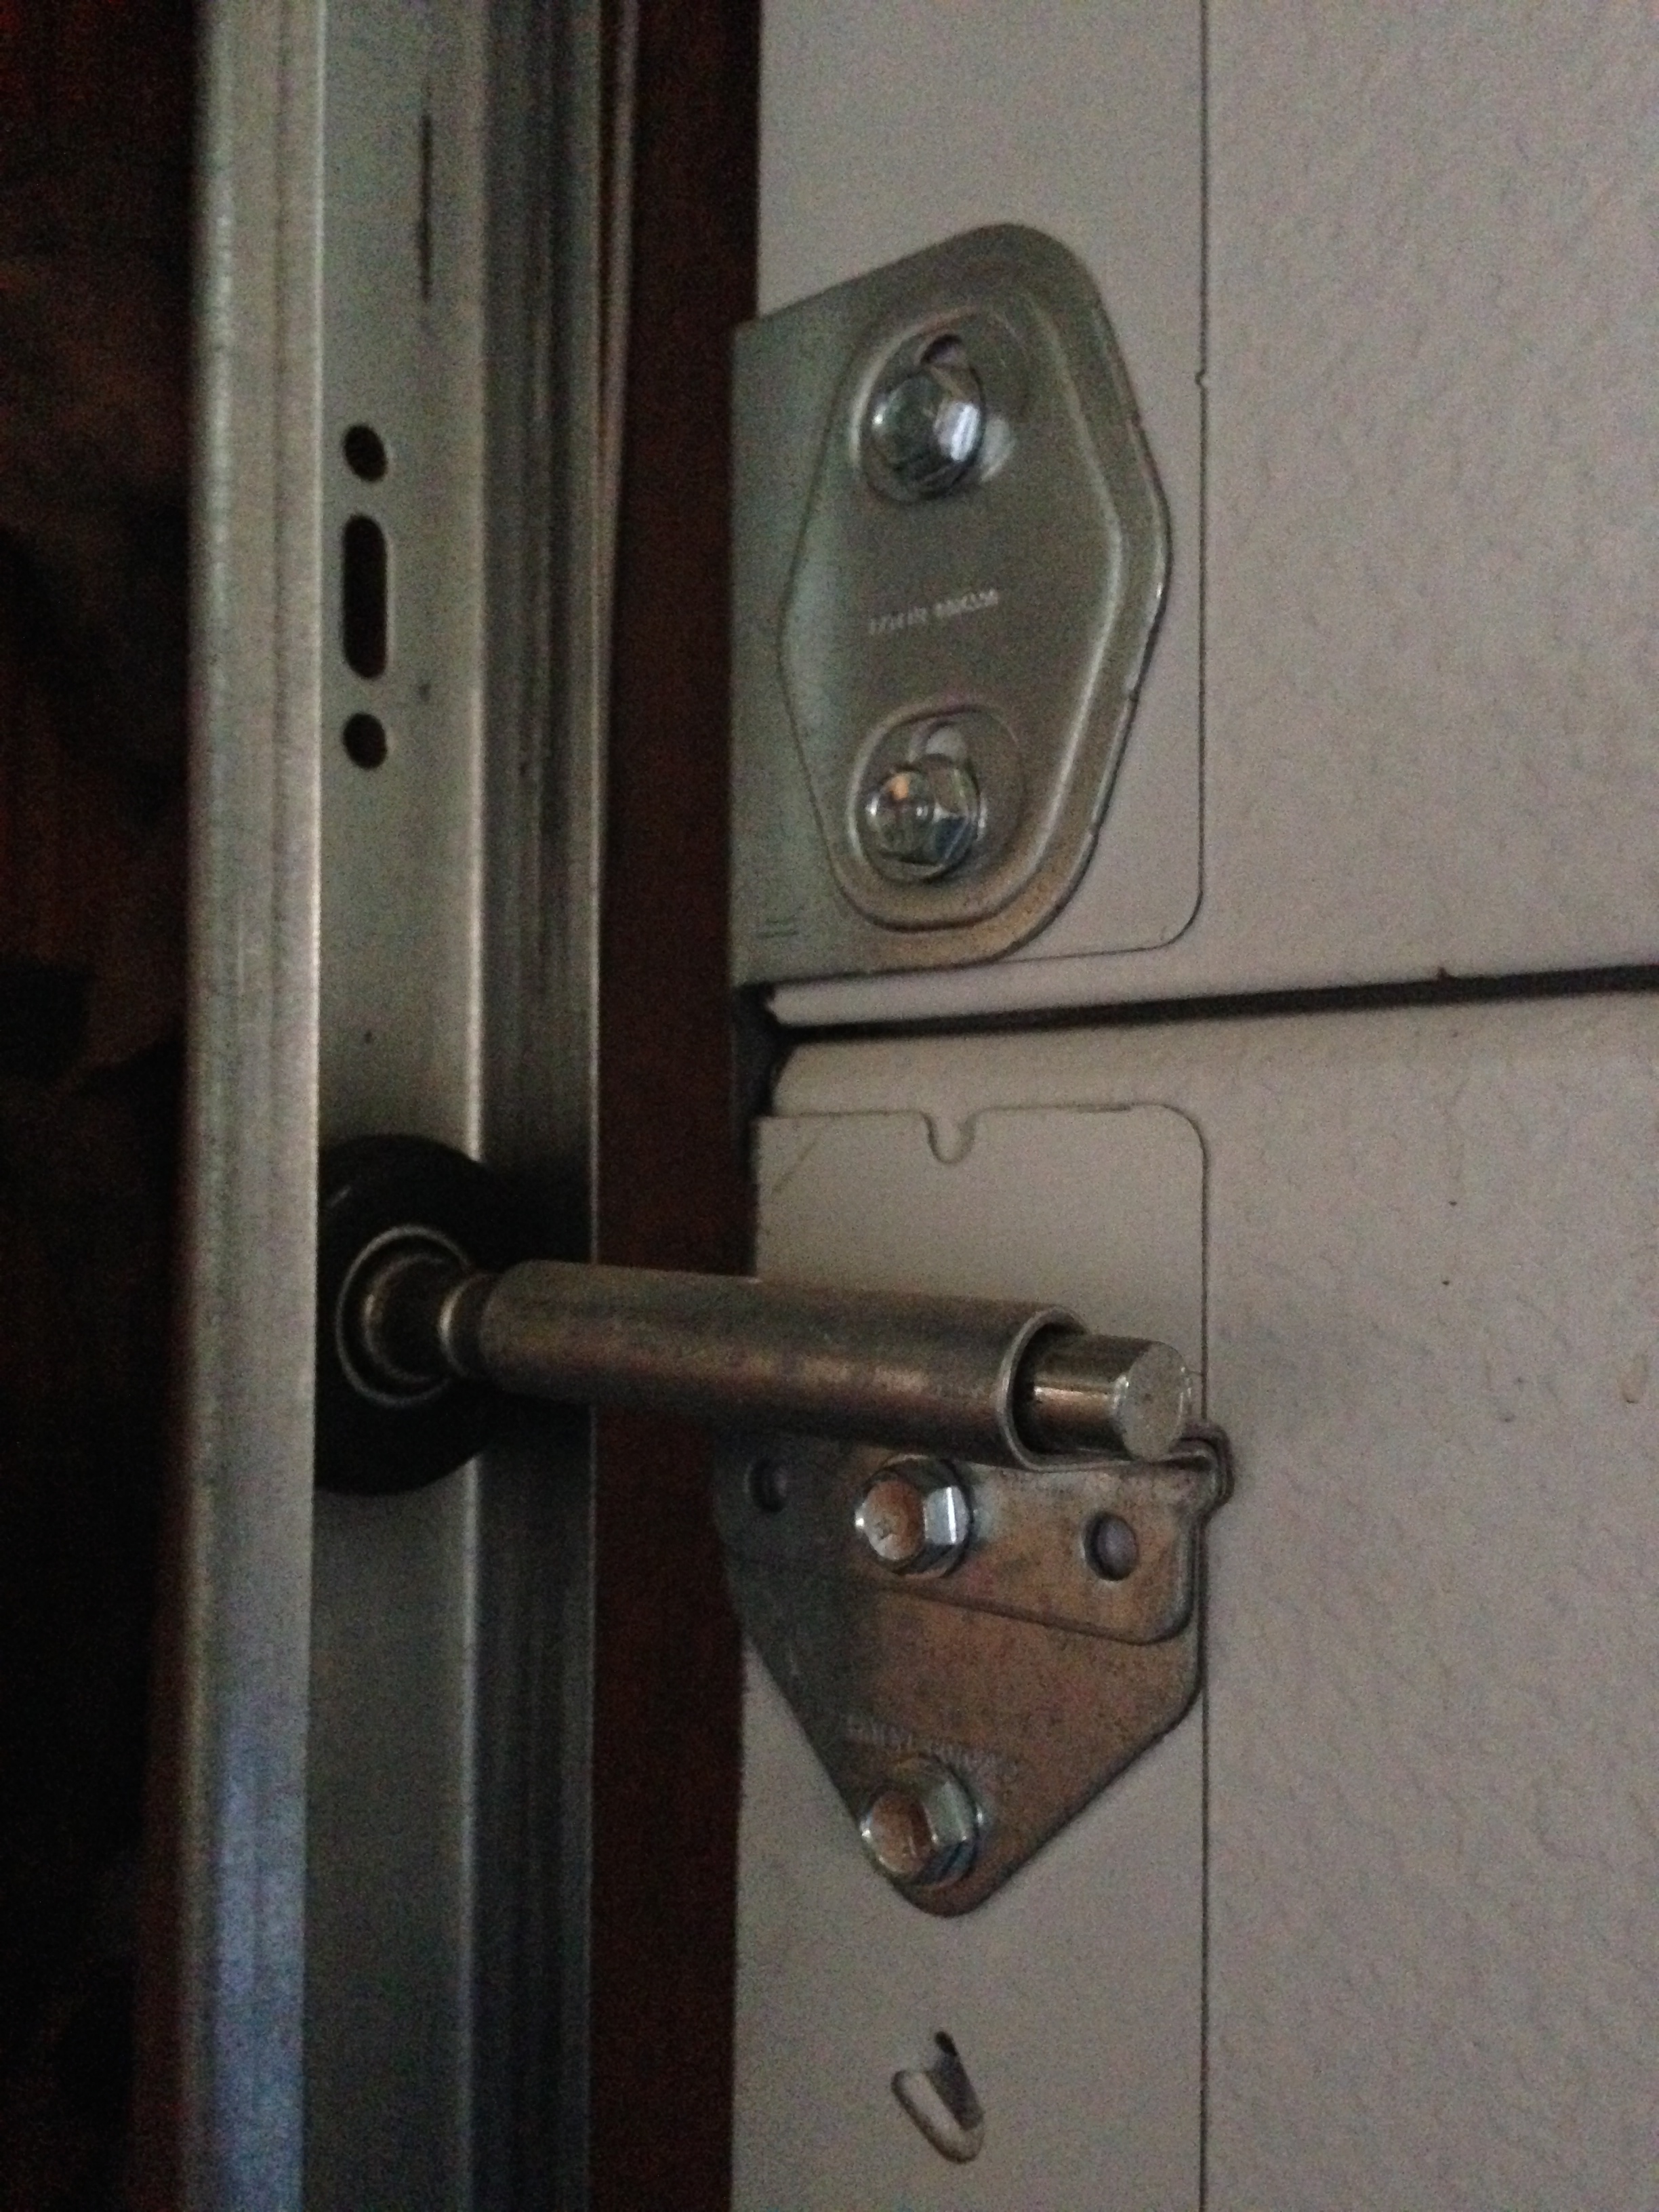
- If you have a door opener, release the emergency cord and check the door balance that it moves easily up and down. When the spring tension is properly adjusted, you should be able to move the door easily up and down with one hand. If the spring tension needs adjusted, contact a qualified door technician.
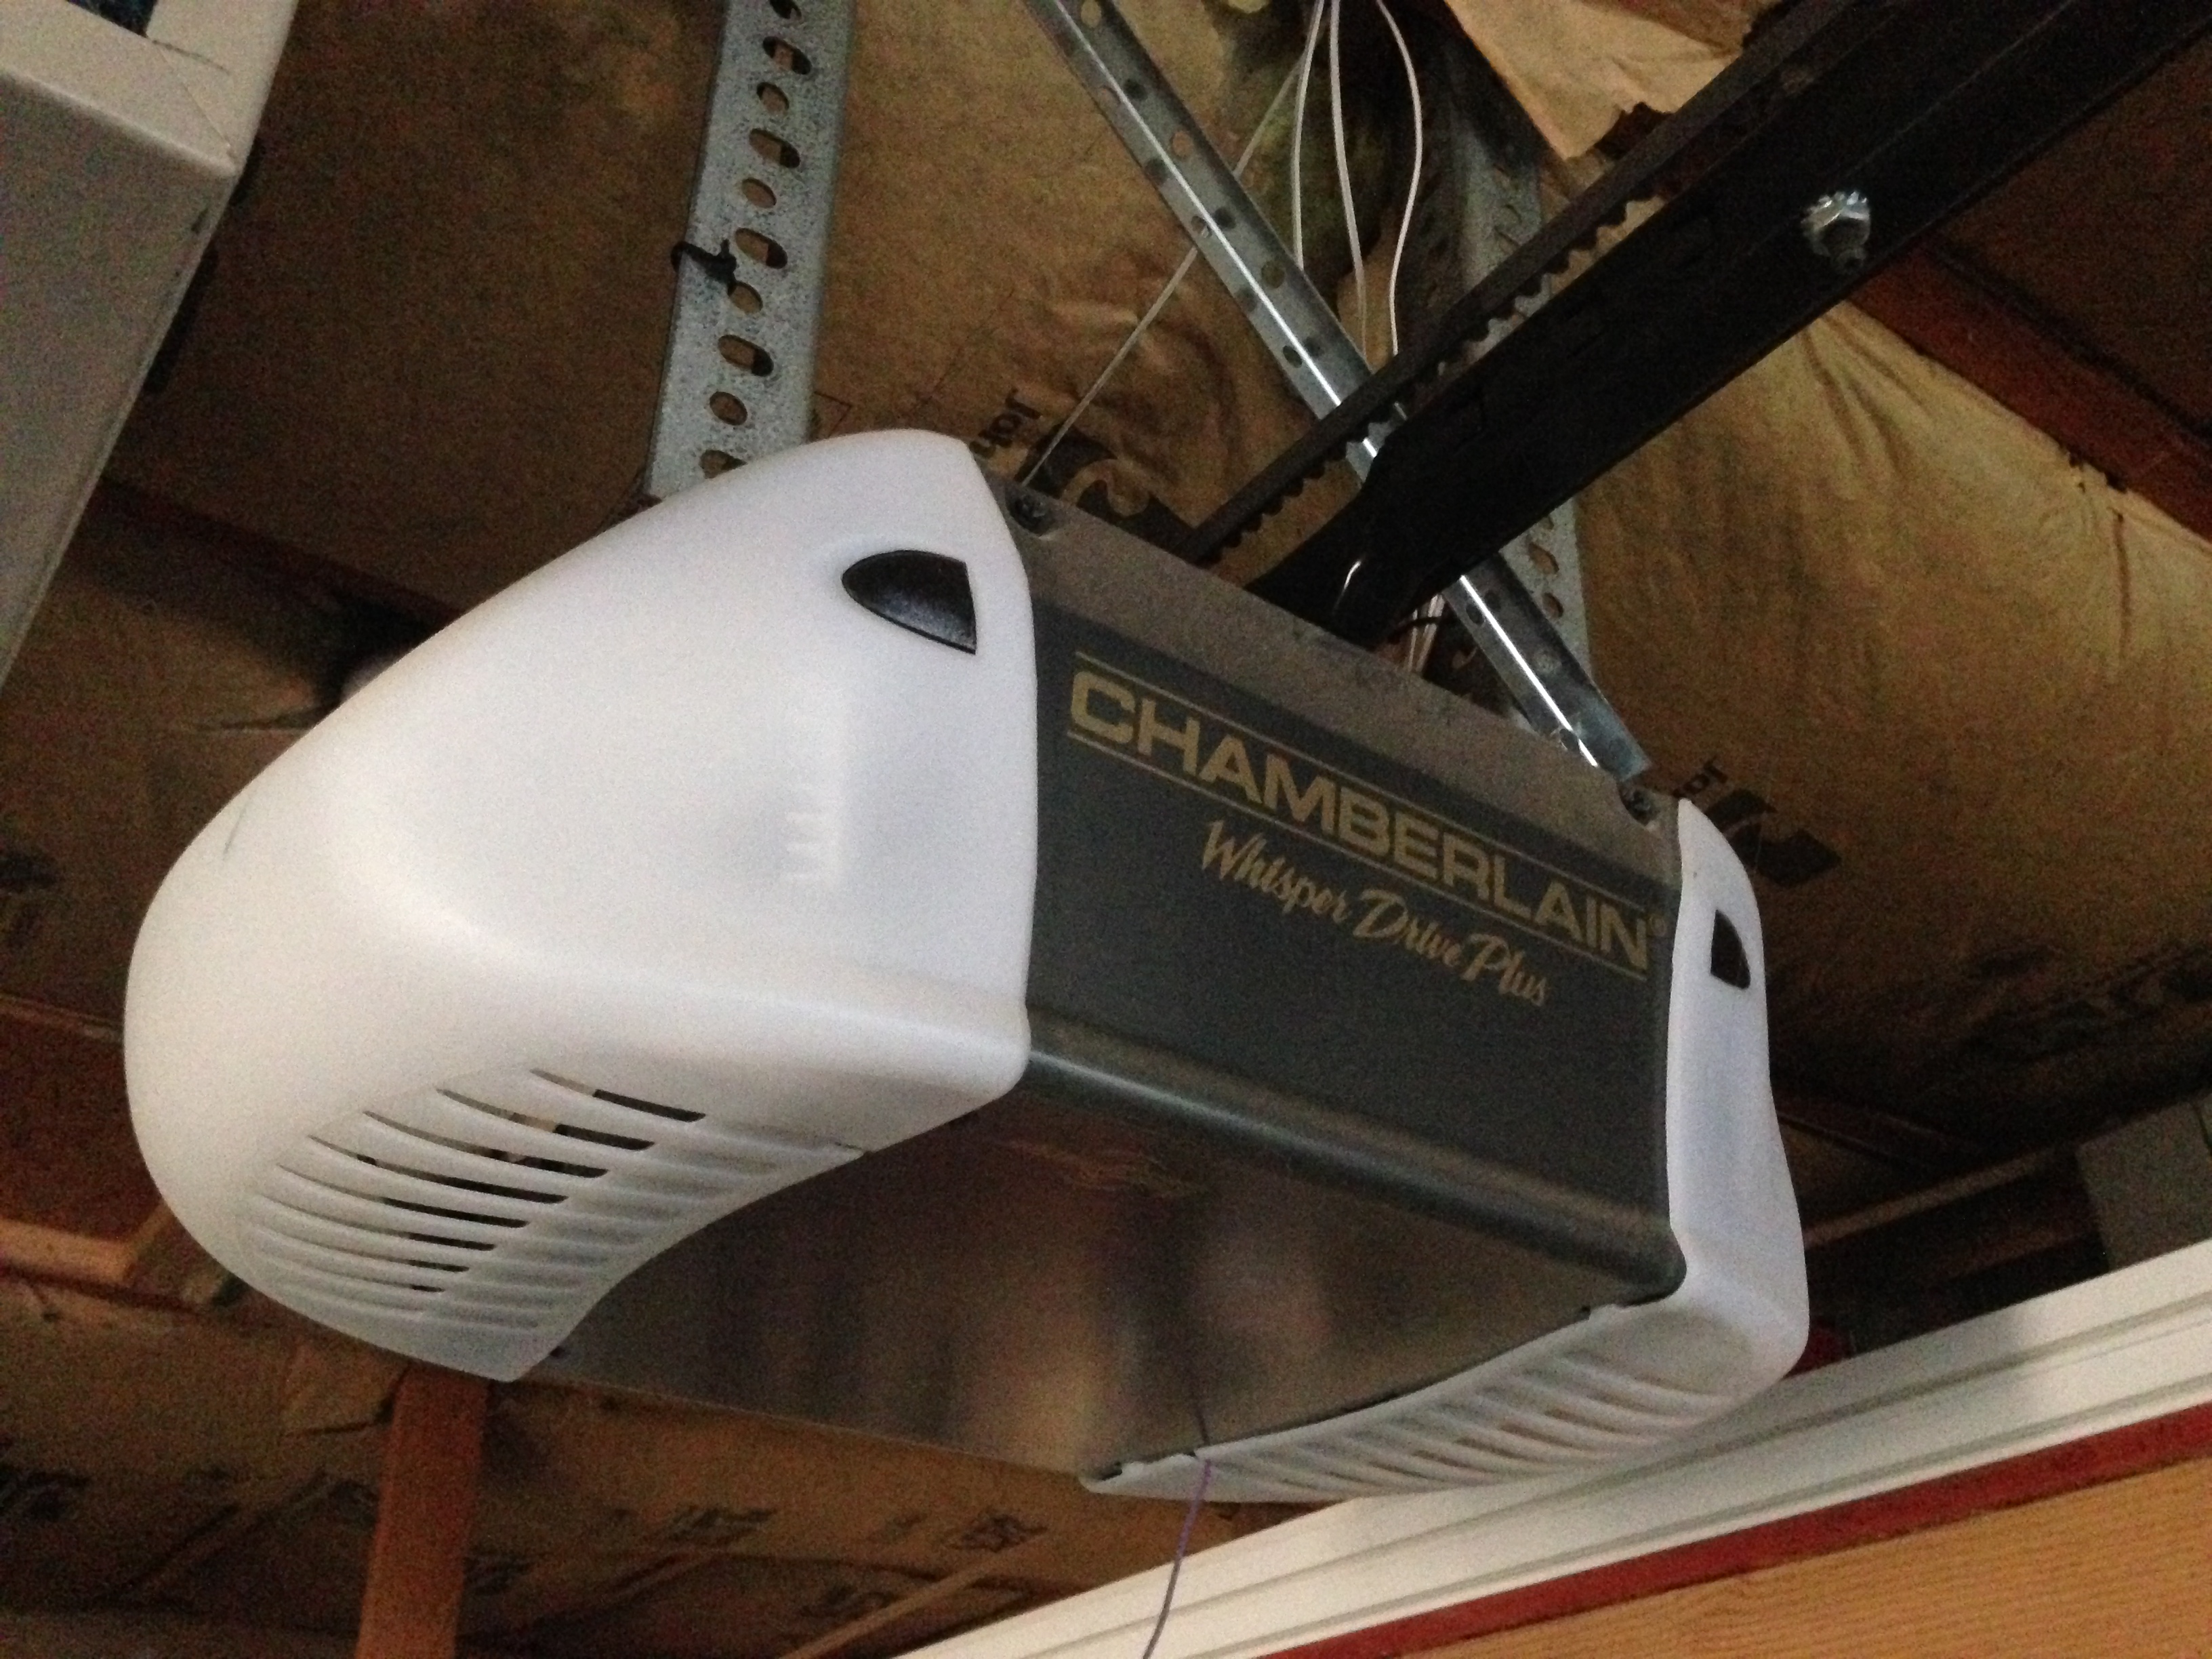
- Some door manufacturers recommend white lithium grease as a lubricant (see below from Chamberlain). I do not recommend that as it can collect dust/dirt.
Emergency Release Cable
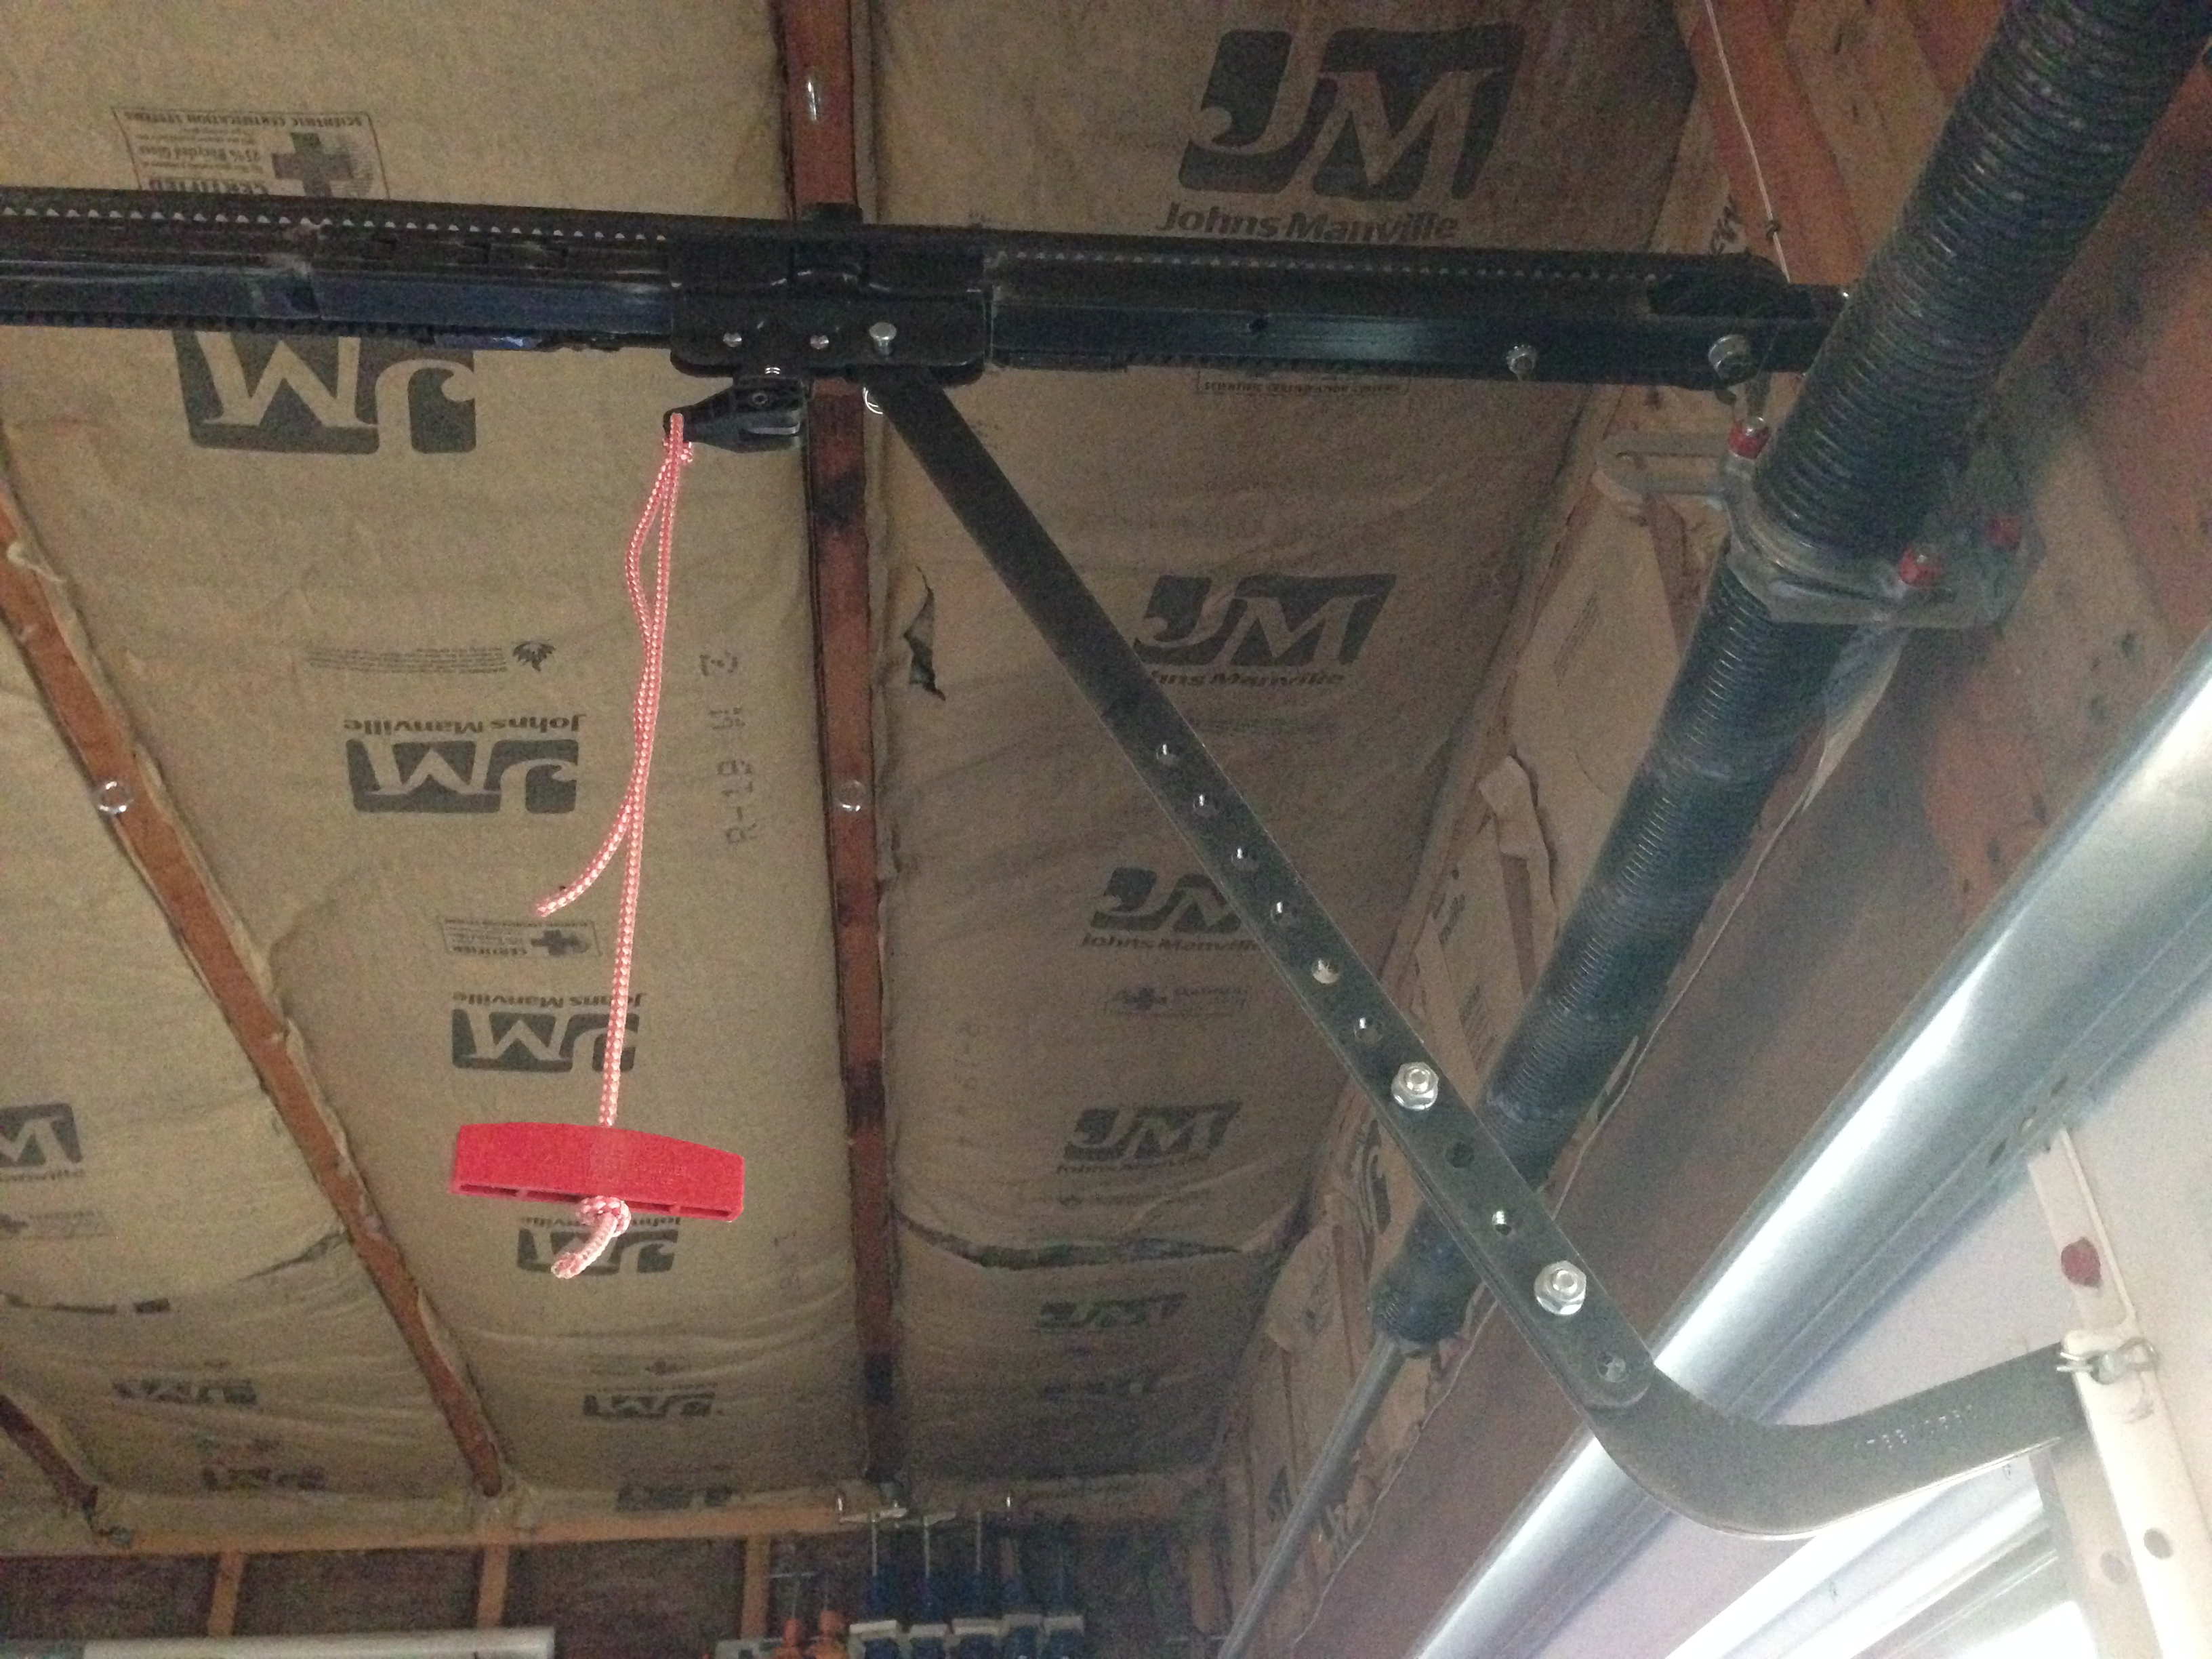
Door Openers
Every electric opener system is different. If you need help programming your remote, search for the manufacturer’s manual on the Internet and follow those instructions.
Annual opener maintenance consists of the following:
- Check the downward travel pressure for the force limit. Place a small block (2 x 4) on the floor below the door threshold. Press the button to close the door. If properly adjusted, when the door contacts the block it should automatically reverse and open. If it does not, the force limit requires adjustment.
- From Chamberlain Doors – Lubricate moving parts. Use a small amount of white lithium based lubricant to lube the door’s rollers, bearings and hinges. You may also lubricate the frame of the door opening on the house where the garage door contacts the wood with a regular wax candle. This will help the door slide easier against the house while opening and closing. Once every 3-4 years – Re-lubricate the garage door opener rail. Using a clean rag, wipe away existing lubrication from the center rail and reapply a small layer of lubrication. We recommend using a white lithium based grease for all lubrication purposes.
- Some openers are advertised as maintenance free. This usually means the opener motor. Check your manufacturer for your requirements.
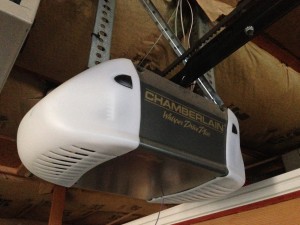
Door Opener
- Verify the upward travel limit is properly adjusted. Downward travel limit does not need adjusted unless you make other changes to the travel limit of the door.
- Check the photoelectric obstruction sensors on the lower sides of the doors. Be sure the eyes are properly aligned. Close the door. As it is traveling down, pass an object through the beam. When it senses the object, the door should automatically reverse direction. If it does not, the sensors need adjusted or replaced. The photo eyes should be installed no more than 6” above the floor.
- Openers will have a belt, chain, cable, or screw drive, depending on your model. Refer to the manufacturer’s original operating and maintenance instructions. Belts, chains, and cables may need the tension adjusted. The chain or screw drive may require lubrication and will be indicated in your owner’s manual.
- Check the light bulbs in the opener and replace as needed with the proper wattage. Exceeding the recommend wattage will generate excessive heat and could damage your opener.
- Blow the dust out of your opener. Depending on how you use your garage, the opener will collect a lot of dust. Use a can of air or an air compressor. Getting around the motor area is the most important.
- Some openers offer battery backup so if the power goes out, you can still operate your door. To test the battery backup, unplug the opener from the outlet and then operate the door using the wall or remote control.

High Tension Springs

There are new technologies now that connect to your opener that can alert you via your smartphone if you left your garage door open. You can open and close your door from your phone as well. Nice options if you are in to technology.
As with all products, consult your garage door and opener owner’s manuals for the manufacturer’s recommended maintenance.
Rex’s tip of the day – “Annual preventative maintenance can extend the life of your door and opener and save you money.”


Garbage Disposal
October 4, 2014 by Rex Splitt • Plumbing • Tags: Disposal, Garbage, Plumbing • 0 Comments
Garbage Disposal
Your garbage disposal is designed to grind food waste. Only put down the disposal what it is designed to have. Remember most of the sewage can end up in water sheds or your septic tank and leach field so be kind to the environment. Please, do yourself a favor and read your owners manual or download one for your make and model! It will be your best friend should you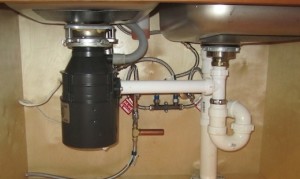 r disposal stop working or get plugged or jammed.
The disposal has an electrical connection so unplug it or turn off the breaker in the service panel before starting any work on this appliance.
Two things I learned the hard way not to put down the disposal…cabbage for one. And the other is grease from cooking. The cabbage will just shred and it will plug your drain. The grease will line your drain pipes and cause food and debris to stick and cause a plug over time.
The most common problem is a jam inside the disposal from a hard piece of debris like glass or a seed. The object gets stuck between the interior wall and the grinder. If this happens, it may trip the reset button on the disposer. Use a flashlight and look down inside the disposal to see if you can visualize what has jammed the unit. If you can see it you may be able to reach inside with a pair of tongs and remove it. Word of caution, be sure the power is off or disconnected before reaching inside.
Hopefully your disposal came with a wrench to help free the jamb. If it does have a wrench, there will be a hole in the bottom of the disposer to insert the wrench. Insert it and work it back and forth to see if you can free the grinder. Once it makes a full revolution, look inside to see if you can remove the object. If you do not see anything, it is possible you may have forced the object on through and into the drain.
Replacement
If the above procedures do not fix your disposer, the motor may be defective and the unit will need replaced. Replacing with the same make and model can be fairly easy. If a different model, you may need to replace the sink drain basket. The good news is that the disposers come with excellent instructions. If you are one that can read and follow instructions you can do this yourself. The most challenging procedure for people can be the electrical connections. Even that is detailed in most instruction manuals.